
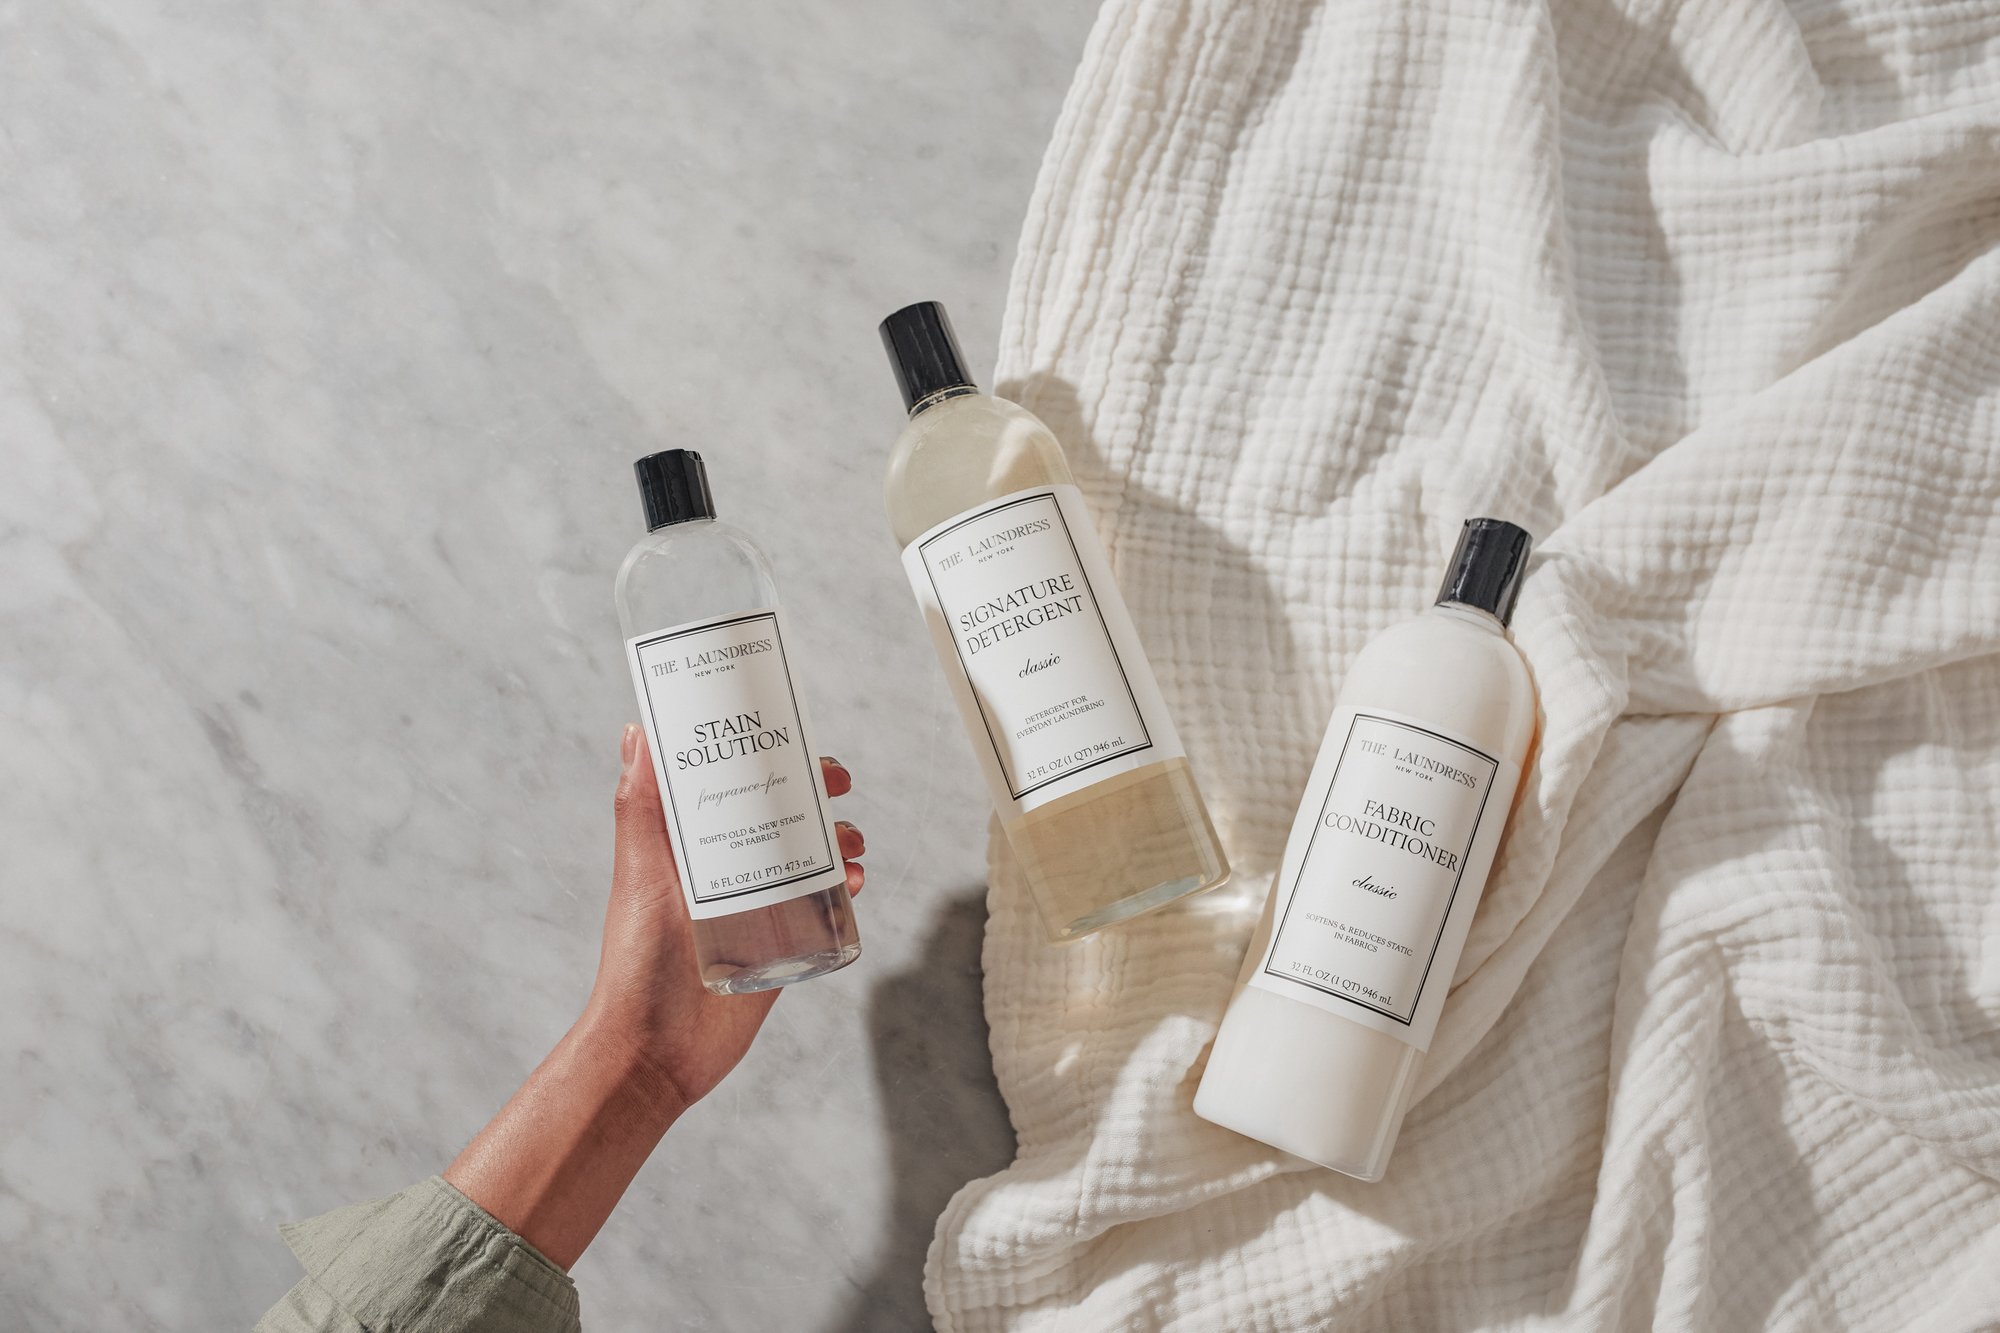
Stains build up over time. We recommend pretreating with every load to prevent and remove stains and odors. While you may not notice a stain today, it is especially important to pretreat areas that are susceptible to buildup, such as underarms, collars, and cuffs. Use Stain Solution to treat stubborn stains.
Remove and store collar stays to put back in after pressing.
Turn the pressed shirt inside out, and place in a mesh bag to protect the fabric and buttons.
Select an appropriate detergent, such as Signature Detergent. For cotton and linen fabrics, use the normal cycle and warm or cold water. For delicate cottons, use the delicate cycle and cold water.

After your garment is washed, you'll want to know how to iron a shirt step by step. Follow the three simple tips below. These tips can be used for adults, kids and even baby dress shirts.
Prep: Check for grime on the bottom of the iron and clear the ironing board of debris.
Start wet: Cotton and linen items that require pressing should be removed from the dryer while still damp. If the items are dry, it helps to spray the area damp before shirt pressing.
Heat: Adjust the iron temperature to match the fabric indicated on the tag. For an oxford cloth shirt, use "cotton/linen." For synthetics, test a small area to ensure it's safe to iron.
Never iron wool, velvet, or corduroy as ironing will crush or flatten the natural pile.
Starch: Never starch silk, silk-like fabrics, delicate synthetics, wool, cashmere, and wool-like fabrics.
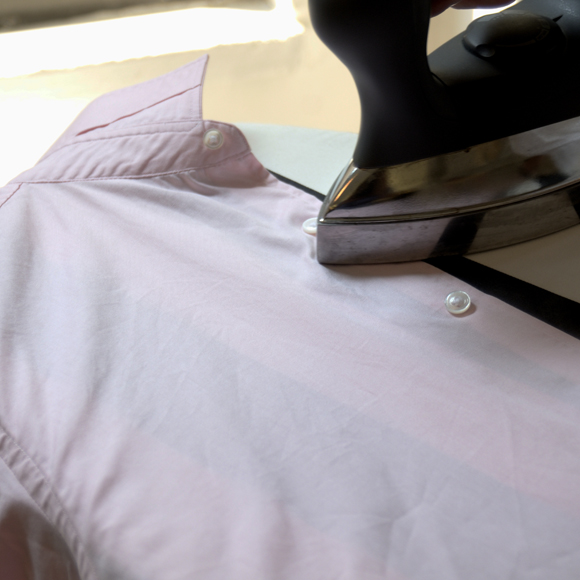
Collar: Pop the collar and iron from the tips toward the middle. Iron the inside, flip, and do the outside. Don't turn down the collar until the rest of the shirt is ironed. Be careful not to iron a crease into the collar.
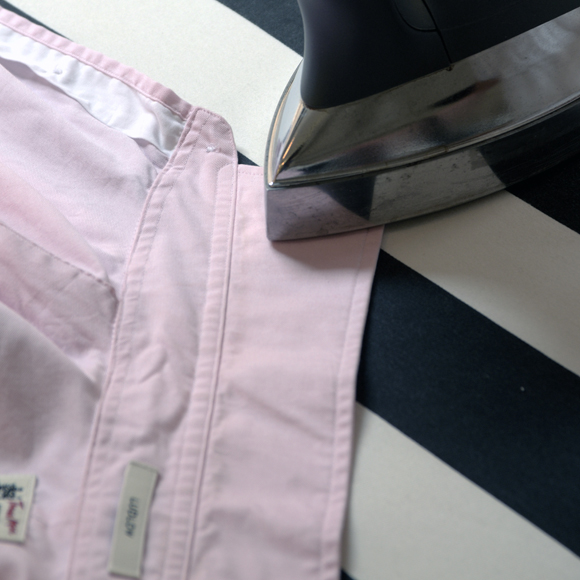
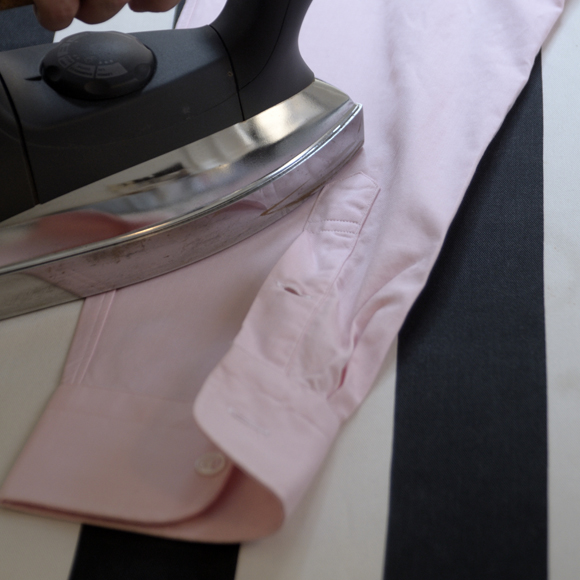
Cuffs: Starting on the inside, iron from the bottom edge toward the sleeve. Flip the cuff and repeat. Also poke the tip of the iron into the pleat(s) just above the cuff.
Sleeves: Hold up and tug taut along the seam so you've got a crisp, straight fold from shoulder to cuff. Lay the sleeve on the board, and ensure both layers of the fabric are smooth. To easily correct any creases, do the back of the sleeve first and save the front for last.
In long sweeping strokes, iron a straight solid crease. Slide the armpit part of the sleeve over the tip of the ironing board, and iron flat the shoulder.
Yoke: Staying in that position, hit the yoke (the double-layer strip that connects the collar to the shirt body). Swing the iron from shoulder to mid-back. Switch shoulders and repeat.
Front non-button side: In long strokes from the collar moving down, start with the placket (the front strip with the buttonholes).
Pocket: Iron from the bottom up.
Back: Iron below the yoke from top to bottom.
Front button-side: Maneuver the tip of the iron, weaving in and around the buttons.
Done: Hang it up so you don't have to do it again (wooden or well-shaped hanger preferred).